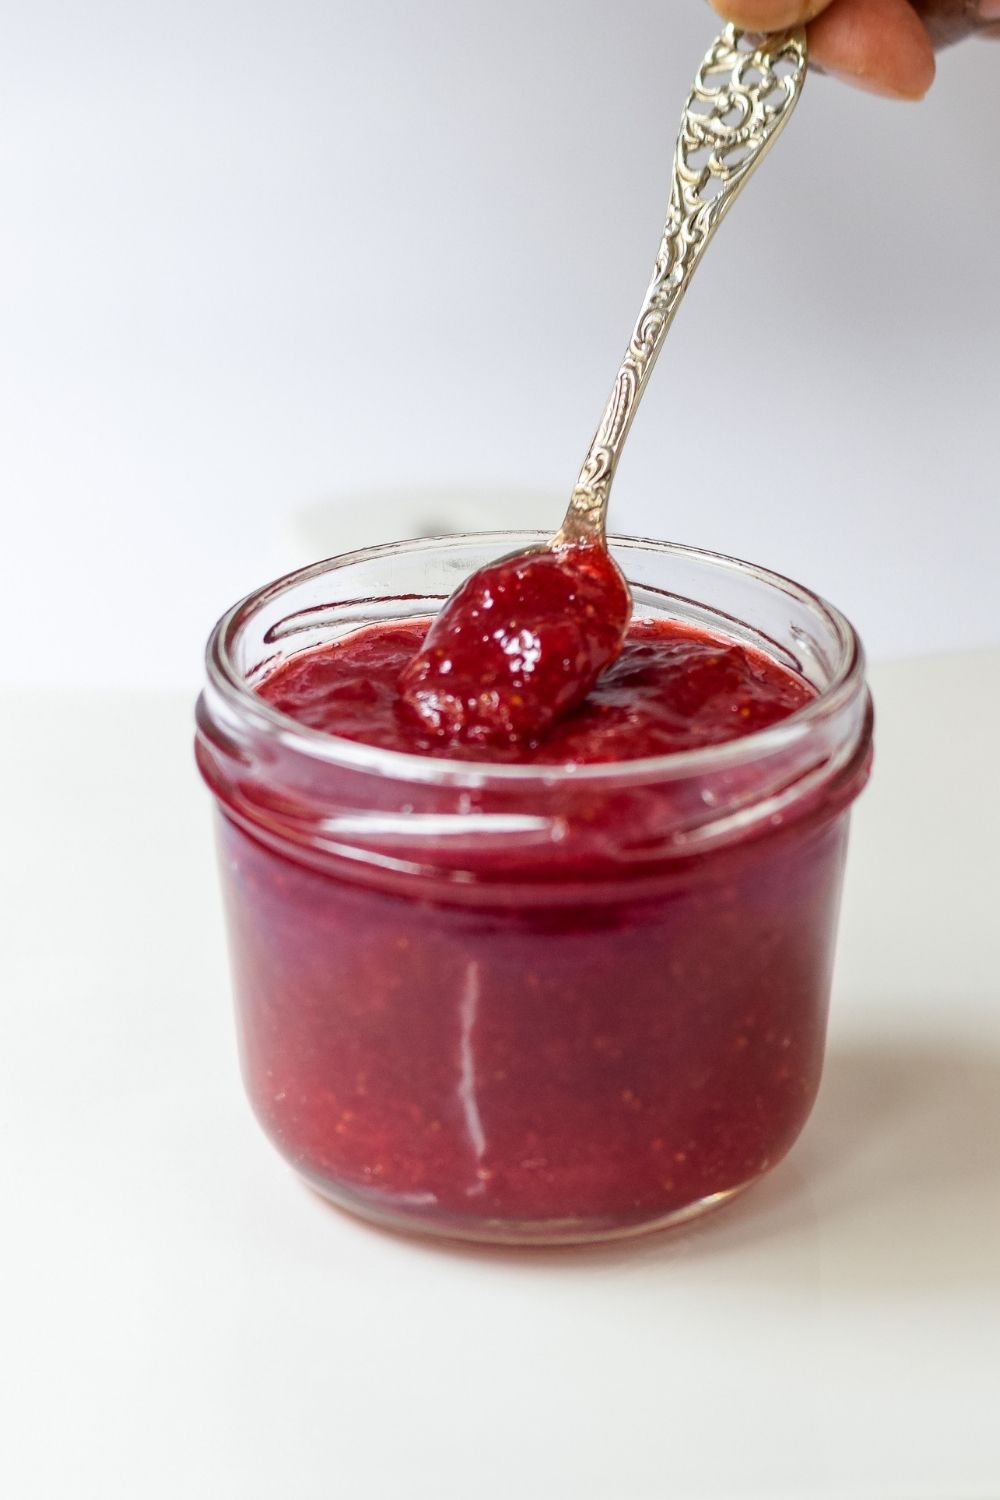
I promise this jam is so delicious. I could honestly just eat spoonfuls of it, all on it’s own. It is sweet but not sickly sweet, it has a little chunkiness which I love and the taste is amazing.
Easy Homemade Strawberry Jam
Regardless of how much instructions you find on google it is so simple that I wish I didn’t have to write you a long story. I have made other jam before and there is no rocket science to it. As you all know I am not a fan of an overload of sugar but this time I was forced to add a little extra. The reason is that sugar also acts as a preservative for the jam. But you really not going to eat more than a teaspoon of jam at a time. So I don’t think it’s going to be that much of a sugar overload. Some recipes use pectin in jams but I don’t find the need to. Pectin is used to help the jam set. I use lemon juice instead. Lemon juice does the trick in helping the jam set and also prevents bacteria. So you see no need for pectin. This is a small quantity of jam so I doubt it will last forever. The most I recommend storing jam is up to 10 days. If you are canning the jam following proper protocols then that’s another story. Canned jam can last up to a year. Now we are not canning anything here. It’s a small quantity of jame and it is going to be stored in a sterilized jar in the refrigerator and eaten within 10 days. I promise it may not even last as long as 10 days. My hubby was so excited about the jam I had to make him some of my Scones to go with it.
Making the Strawberry Jam
I love a little bit of a chunky jam so I did not blend the strawberries. I cut them up into little pieces and popped them into the pan. Whilst cooking you can use a masher to mash up the strawberries, as they soften. If you want a smooth jam you can blend them before cooking. There are some recipes that blend the strawberries after it’s cooked. I suppose either way will work. I do have a thermometer that I used but I am not sure how accurate it is. Mine reached a temperature of 200 degrees Farenheit when my jam was ready. Another way to test if your jam is ready put your plate in the freezer for about fifteen minutes. Place a spoonful of jam on the cold plate. When you put your finger throught the strawberry jam on the plate it should wrinkle. If it floods back to fill the gap then it’s not ready. You will have to cook it for a little longer. The above method was taken from the BBC Good Food site. Honestly I didn’t feel the need to test my strawberry jam as it was thick enough and looked ready to me. Also note that once the jam cools it does thicken further. Mine was in the refrigerator overnight and when I used it the next day the consistency was perfect. This strawberry jam is so perfect, I am certainly never buying strawberry jam again. It definitely doesn’t even compare. You can allow the jam to cool for 5 minutes. Transfer it into a sterilized glass jar and refrigerate.
You may want to try these recipes too: Raspberry Crumble Bars Easy Raspberry Jam Homemade Strawberry Whirls Biscuits If you loved this, please share!


